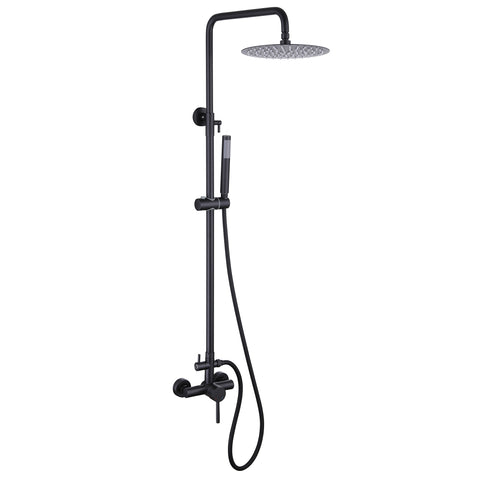

-
Matte Black
-
Chrome
-
Brushed Gold
-
Brushed Nickel
- + 1
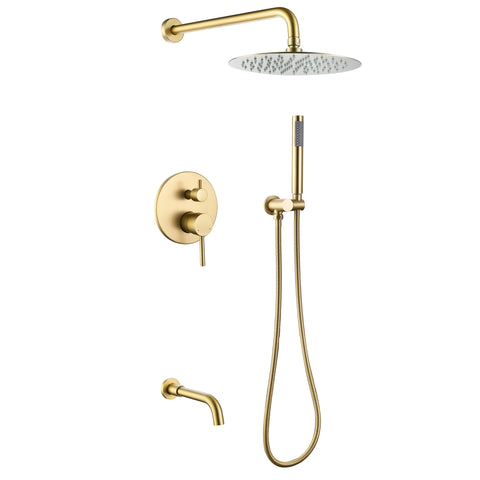

-
Brushed Gold
-
Matte Black
-
Brushed Nickel
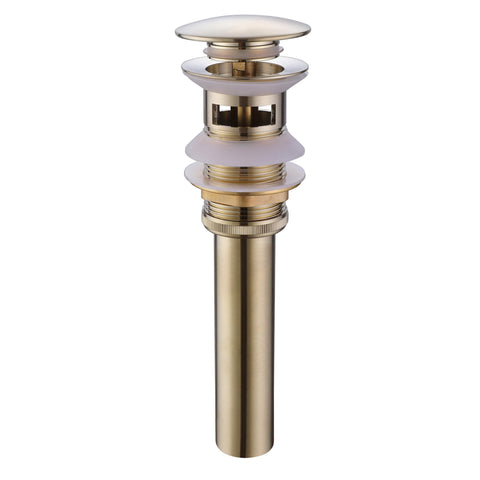
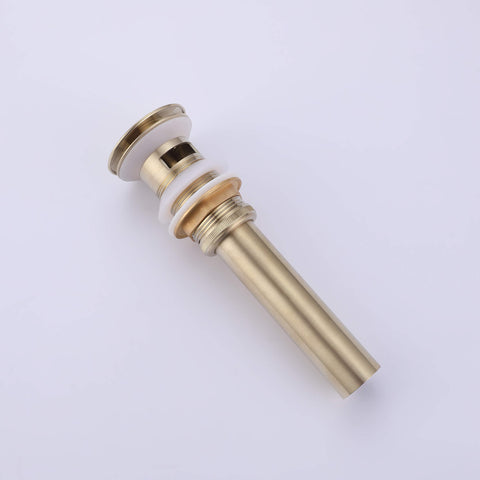
-
Brushed Gold
-
Matte Black
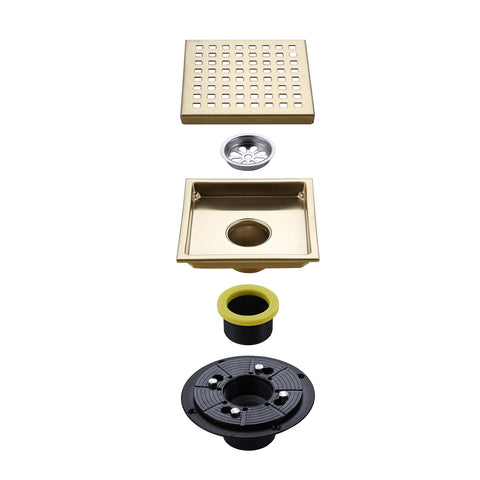

-
Brushed Gold
-
Brushed Nickel
-
Chrome
-
Matte Black



Shower System Rough-In Checklist Before Tiling the Wall
A new shower system can make a bathroom feel completely different. The rain shower head, handheld sprayer, tub spout, body jets, handles, and finish are the parts everyone notices first.
But the part that matters most is hidden behind the wall. The rough-in decides whether the trim sits flat, the handle feels solid, the water flows to the right outlet, and the system can be serviced later.
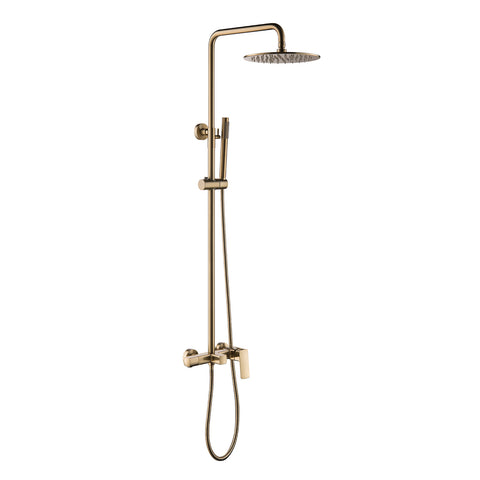
Once tile is installed, even a small rough-in mistake can become expensive to fix. Before the wall is closed, use this checklist to confirm valve depth, pipe connections, outlet locations, water pressure, and product compatibility. If you are still choosing a fixture, compare complete shower systems before the plumbing layout is finalized.

Quick rule: do not tile the shower wall until the valve depth, water direction, outlet positions, diverter function, and pressure test have all been checked.
If anything feels uncertain, pause before tiling. It is much easier to correct a rough-in issue while the wall is still open.
1. Confirm the Shower System Before Plumbing Starts
Different shower systems need different rough-ins. A basic shower faucet may only need one valve and one shower outlet. A larger system may include a rain shower head, handheld shower, tub spout, body jets, or a separate diverter.
Before the plumber sets the valve, confirm exactly what the system includes. Do not rely only on the product photo. Open the box, check the manual, and match every visible part to the rough-in plan.
- Mixing valve or thermostatic valve
- Diverter, if the system has multiple outlets
- Rain shower head and shower arm
- Handheld shower, hose, bracket, or slide bar
- Tub spout, if included
- Body jets or spray outlets, if included
- Trim plate, handles, escutcheons, and adapters
- Installation manual and rough-in depth guide
This step matters because every outlet needs its pipe route before the wall is closed. If a handheld outlet, tub spout, or body jet connection is forgotten, adding it later may require cutting into the finished wall.
Planning a full bathroom update?
A complete shower system helps the valve, trim, showerhead, and handheld spray work together. Browse RBROHANT shower systems before finalizing the rough-in layout.
2. Check Valve Depth Against the Finished Wall
Valve depth is one of the most common shower rough-in problems. The valve may look fine during framing, but once backer board, waterproofing, mortar, and tile are added, the final wall surface moves forward.
If the valve is too deep, the handle may not connect properly and the trim plate may not sit flush. If it is too shallow, the trim can look raised or fail to cover the opening cleanly.

Before tiling, confirm:
- The valve body is installed at the correct depth.
- The plaster guard or depth guide matches the expected finished wall surface.
- Tile thickness and mortar thickness have been included.
- The trim plate can sit flat against the finished wall.
- The handle has enough clearance to turn smoothly.
- The cartridge can still be reached for future service.
If you are replacing an old shower valve or changing to a different trim style, check the valve model carefully. Not every trim works with every rough-in valve.
3. If the Valve Is Too Deep, Check Compatibility Before Buying an Extension
A valve that sits slightly too deep does not always mean the wall has to be opened again. In some cases, a compatible extension kit can bring the handle connection closer to the finished wall surface.
The important word is compatible. Extension kits are not universal. The stem length, valve model, trim design, cartridge structure, and installation depth all matter.

A shower valve extension kit may help when:
- The valve is only slightly recessed.
- The trim plate still covers the wall opening.
- The valve body is stable and leak-free.
- The handle can still operate smoothly after extension.
- The extension piece matches the original valve structure.
If the wall is already finished and the valve sits too far back, read the guide on what to do when a shower valve is recessed too deep. For compatible parts, you can also check this shower valve extension kit.
4. Confirm Hot and Cold Lines Before the Wall Is Closed
Hot and cold water lines should be connected correctly before tile work begins. In most shower installations, hot is on the left and cold is on the right when facing the valve.
If the lines are reversed, the shower may still run, but temperature control can feel wrong. Thermostatic and pressure balance valves may also fail to work as intended if the supplies are connected to the wrong inlets.

Before tiling, check that:
- Hot water is connected to the correct inlet.
- Cold water is connected to the correct inlet.
- The valve markings match the pipe connections.
- The handle turns in the expected direction.
- Water temperature changes normally during testing.
5. Pressure-Test Every Connection
A shower rough-in should be pressure-tested before the wall is covered. This step is not just for large remodels. Even a small leak behind the wall can lead to water damage, mold, loose tile, or expensive repairs later.
Ask the plumber to check:
- Hot and cold inlet connections
- Valve body connections
- Diverter connections
- Rain shower outlet
- Handheld shower outlet
- Body jet outlets, if included
- Tub spout outlet, if included
- Temporary test plugs or caps
The goal is simple: find leaks while the wall is still open. If a fitting needs to be tightened, resealed, or replaced, this is the right time to do it.
6. Check Outlet Locations Before Waterproofing and Tile
A shower system can look beautiful but still feel awkward if the outlets are in the wrong places. Before tiling, confirm the location of each outlet using the actual bathroom layout, not just a generic drawing.

Review the placement of:
- Main shower valve
- Rain shower head or shower arm outlet
- Handheld shower bracket or slide bar
- Hand shower outlet
- Diverter handle
- Tub spout
- Body jets, if included
The valve should be easy to reach without standing directly under cold water. The rain shower head should be high enough for comfortable use. The handheld shower should be convenient for rinsing, cleaning the shower area, bathing children, or washing pets.
7. Review Diverter Function and Outlet Order
If your shower system has more than one outlet, the diverter needs careful checking. The diverter controls where the water goes, such as to the rain shower, handheld shower, tub spout, or body jets.
Before the wall is closed, confirm:
- Each outlet is connected to the correct diverter port.
- The handle position matches the expected outlet.
- The diverter switches smoothly.
- The system supports the number of outlets being installed.
- The outlet order makes sense for daily use.
Do not assume the outlet order is obvious. Review the installation diagram with the plumber before the pipes are finalized, especially for systems with three or more functions.
8. Make Sure the Valve and Pipes Are Supported
The valve body should not move inside the wall. It should be mounted to proper blocking or framing so it stays stable when the handle is used.
A loose valve can make the finished shower feel cheap even if the trim looks good. Over time, movement can also stress pipe connections.
Before tiling, check that:
- The valve body is securely mounted.
- Wood blocking or proper support has been installed.
- The valve does not move when operated.
- Pipes are supported and not hanging freely.
- Heavy outlets have enough backing behind the wall.
9. Confirm Finished Wall Thickness
The finished shower wall is thicker than the open framing. It may include backer board, waterproofing membrane, mortar, and tile. This total thickness affects valve depth, trim fit, and outlet projection.
Before tiling, confirm:
- Backer board thickness
- Waterproofing layer
- Tile thickness
- Mortar thickness
- Final finished wall plane
If the plumber and tile installer are different people, make sure both understand the expected finished wall thickness before the valve position is finalized.
10. Take Photos Before the Wall Is Closed
Before cement board, waterproofing, and tile cover the wall, take clear photos of the rough-in. This simple step can help with future maintenance, troubleshooting, or remodeling.
Photograph:
- Valve location and depth
- Pipe routes
- Hot and cold supply lines
- Diverter connections
- Shower outlet pipes
- Blocking and support
- Any capped outlets or test plugs

Final Checklist Before Tile Installation
Before the tile installer begins, review the rough-in one more time. If any item is uncertain, it is better to pause now than repair a finished wall later.
- The correct shower system is on site.
- The installation manual has been reviewed.
- All required rough-in parts are present.
- Valve depth matches the finished wall thickness.
- Hot and cold water lines are connected correctly.
- All pipe connections have been pressure-tested.
- Shower head, handheld, tub spout, and body jet locations are confirmed.
- Diverter outlets are connected in the correct order.
- Valve body and pipes are securely supported.
- Photos of the open wall have been taken.
- The system has been tested before the wall is closed.
Common Rough-In Mistakes to Avoid
These are the issues that most often create problems after the shower is finished:
- Setting the valve too deep: the trim and handle may not fit correctly.
- Forgetting tile thickness: the valve may look correct during framing but become recessed after tile is added.
- Reversing hot and cold lines: this can affect temperature control and valve performance.
- Placing outlets too low: shower heads, handheld brackets, and body jets should match real users.
- Ignoring glass door clearance: handles, shower arms, and brackets may interfere with the door swing.
- Leaving the valve unsupported: a loose valve can make the finished shower feel unstable.
- Skipping the pressure test: small leaks are much easier to fix before the wall is closed.
Choose the Main Parts Before the Rough-In Is Final
The cleanest installations usually happen when the main parts are chosen early. Once the shower system, valve body, trim, showerhead, diverter, and handheld outlet are confirmed, the plumber can set the rough-in with fewer guesses.
Planning a full shower upgrade?
Choose the system first so the valve, trim, showerhead, and handheld outlet are planned together.
Browse Shower SystemsOnly fixing valve depth?
If the valve is slightly recessed, a compatible extension piece may help avoid opening the wall.
View Extension KitNeed help with a recessed valve?
Learn when an extension kit is enough and when the valve may need to be reset.
Read the Deep Valve GuideBefore the Tile Goes Up, Check One More Time
A shower does not start with the trim plate or the shower head. It starts with the rough-in behind the wall.
Take a few minutes to review the valve depth, hot and cold orientation, outlet locations, pipe support, diverter function, and pressure test results with your plumber or contractor. These checks may feel small during installation, but they can prevent loose trim, poor handle fit, hidden leaks, and costly wall repairs later.
If you are still choosing products for the remodel, start with the complete shower layout first. Explore RBROHANT shower systems, shower valves, and compatible rough-in parts before the wall is closed.